Installation
Method 1: Binaries
With pixi (recommended)
Install pixi.
Then, in the project directory:
## Create a pixi workspace
pixi init

## Add the common lisp channel
pixi workspace channel add --prepend \
  https://prefix.dev/conda-forge \
  https://prefix.dev/common-lisp/common-lisp

## Install moonli
pixi add moonli

## Run it
pixi run moonli --version
pixi run moonli --no-init --funcall + 2 3 4
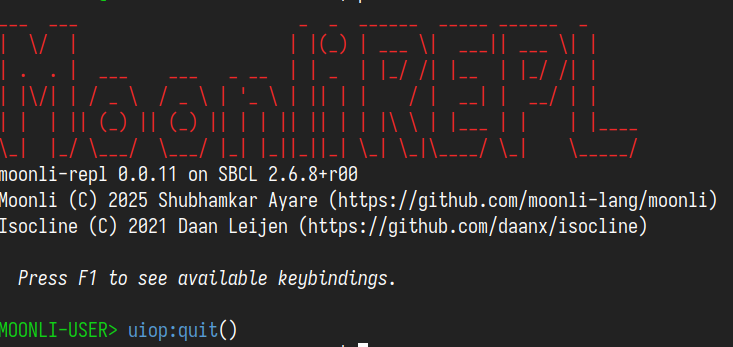
You can start the REPL with
pixi run moonli
You can quit it by uiop:quit() then hitting Ctrl+J.
You can install common lisp packages from the prefix.dev channel: https://prefix.dev/channels/@common-lisp/common-lisp
Optionally, you can also install the lisp package manager quicklisp with
pixi add ql-https
To install a package, you can
pixi run moonli --funcall ql:quickload osicat
Although, Moonli’s curated libraries included with the binary should cover the common cases. So, ql-https should not be required.
To run a script
pixi run moonli /path/to/script.moonli
If you have an asdf package in the current directory, then you can start moonli with the project
Updating moonli will be as simple as
pixi upgrade moonli
Without pixi (manual download)
Grab a binary from the latest release. If you want an interactive REPL as in the above gif, grab the binaries with “repl” or “ciel” in their name.
In case of any installation issues, please create an issue on github or gitlab.
In this case, quicklisp will need to be installed manually and updating Moonli will also have to be manual.
Method 2: From fresh compilers - If you want to hack on Moonli
With pixi
Install pixi.
Windows users should also install git for bash
Clone the repository and change directory:
git clone https://github.com/moonli-lang/moonli && cd moonliUse pixi:
pixi run sbcl --no-userinit --eval '(asdf:load-system "moonli/repl")' --eval '(moonli/repl:main)'OR
pixi -q run moonli-repl
You can use pixi run sbcl to use as the binary from other editors like Emacs or VS Code. Emacs has a moonli-mode.el and VS Code has Alive Moonli.
Without pixi
Step 0. Install a package manager for your OS
Mac OS: brew
/bin/bash -c "$(curl -fsSL https://raw.githubusercontent.com/Homebrew/install/HEAD/install.sh)"
Windows:
Step 2. Install ql-https
ql-https sets up the Common Lisp library manager quicklisp with https support. It can be installed simply as:
export LISP=sbcl
curl https://raw.githubusercontent.com/rudolfochrist/ql-https/master/install.sh | bash
This will also edit the compiler init file (eg. ~/.sbclrc) to load ql-https at startup.
Step 3. Install Moonli
3.1. Obtain the source
git clone https://github.com/moonli-lang/moonli
3.2. Start the REPL
sbcl --eval '(ql:quickload "moonli/repl")' --eval '(moonli/repl:main)'
Optionally, with CIEL
sbcl --eval '(asdf:load-system "moonli/ciel")' --eval '(moonli/repl:main)'
3.3a. (Optional) Building basic binary
The following should create a moonli binary in the root
directory of moonli.
sbcl --eval '(asdf:make "moonli")'

./moonli --help
A basic moonli transpiler over SBCL
Available options:
  -h, --help                 Print this help text
  -l, --load-lisp ARG        Load lisp file
  -m, --load-moonli ARG      Load moonli file
  -t, --transpile-moonli ARG
                             Transpile moonli file to lisp file
3.3b. (Optional) Build REPL
The following should create a moonli.repl binary in
the root directory of moonli.
sbcl --eval '(asdf:make "moonli/repl")'
3.3c. (Optional) Build REPL with CIEL
The following should create a moonli.ciel binary in
the root directory of moonli.
sbcl --eval '(asdf:make "moonli/ciel")'
Step 4. Set up VS Code or Emacs
Install VS Code or VSCodium if they are not already installed.
Once the editor is installed, install the Alive Moonli extension.
If you are familiar with Emacs, you can also use moonli-mode.el.
Feedback
Was this page helpful?
Glad to hear it! Please tell us how we can improve.
Sorry to hear that. Please tell us how we can improve.